Rola Atlas Roof Cargo Basket Review – etrailer.com
Click for more info and reviews of this Rola Roof Basket:
https://www.etrailer.com/Roof-Basket/Rola/59043.html
Check out some similar Roof Basket options:
https://www.etrailer.com/dept-pg-Roof_Basket-hs-Large_Capacity.aspx
https://www.etrailer.com
Don’t forget to subscribe!
https://www.youtube.com/user/etrailertv
Full transcript: https://www.etrailer.com/tv-review-rola-atlas-roof-cargo-basket-59043.aspx
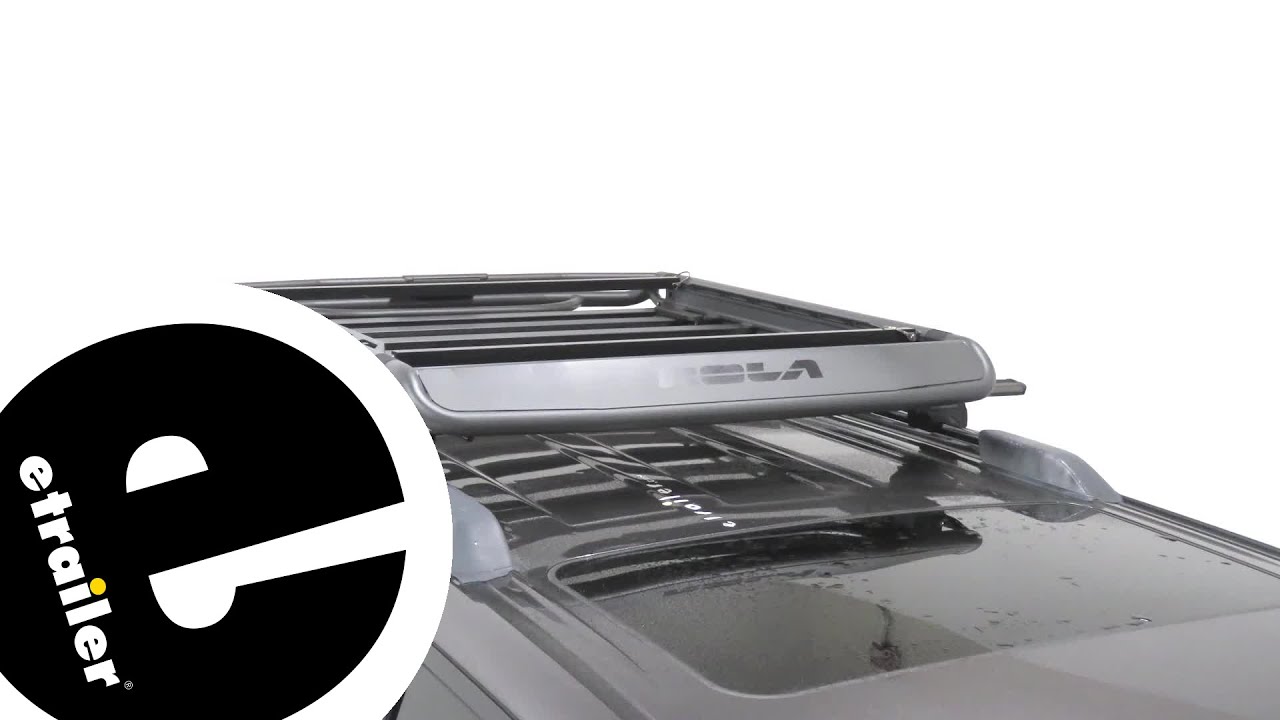
Hey, guys. Today we’re going to be checking out the Rola Atlas Roof-Mounted Cargo Basket.I’ve already got it loaded up with some cargo, with a bike rack and a bike on it in place. Let’s go ahead and take it out on our test course and see how it performs.Let’s start with the slalom. This shows side-to-side action such as turning corners or evasive maneuvering. Last of all, the solid speed bumps. This shows up and down action such as driving through a parking lot or parking garage, or driving in and out of a driveway.
On our test course, we showed you what it looks like with some side-to-side action and some up and down action. All in all, just to give you a good idea how it’s going to hold our gear when we’re on the road.Let’s go ahead and take out some of the gear and show you a closer look. Right away, one of its best features is the integrated crossbars here. This will allow us to still use roof-mounted accessories while we’re using our basket. So, we’ll be able to use our roof-mounted bike racks, and maybe a kayak carrier, anything like that.
It needs to be a clamp-on style, though, so if you’re used to using that T-Track style with your normal roof rack, you can no longer do that with the basket crossbars in place.Now, the front and rear crossbars are 1″ by 1″. They should work with most of those clamp-on accessories. Let’s go ahead and take off the bike rack and show you how these crossbars can be removed. This’ll make more room for our gear inside of our basket. Simply pull out the pin.
Then we can lift up and then pull out, and then it’s completely removed. You can see here one side is notched open. That way it rests down on top of the anchor here. The other side is hollow. That way it slides in.
It is reversible, so it doesn’t rightly matter which side you put in first. You’ll just want to be sure that it’s pinned on one side. Once it’s removed, you can either put the pin back in place, so you don’t lose it, or leave it off. It’s your call. With those crossbars removed, we have more usable space with our basket.Back to the outside of our basket, you’ll notice here in the front it features a fairing. Like anything we put on our roof, it’s going to make some noise, but with this in place, it’s going to help cut down on some of that. So, not a bad feature.One thing that separates this basket from the others is it has six tie-down anchors on each side. These are going to work with rope, bungee cords, ratchet straps, whichever your preferred strap is. And we have more than enough to keep our gear anchored.Here on the inside, we have our plank floor. It’s nice and flat. That way our gear sits nice and even over the planks. This is also going to help when it comes to tying them down. We don’t have to worry about that cargo rolling or shifting within the basket. Now, they’re about 2-1/4″ wide. The space between is about 3-1/2″. You want to be sure you don’t set any gear up here that’s any smaller than that.Since we’re here on the inside, let’s go ahead and talk about how it attaches to our roof rack system. Now, you can see here, the bottom portion of the clamp is pretty sizeable. It’s going to work with your round, square, arrow, elliptical, and most factory roof rack systems. We’ve actually got our basket attached to the Rola Extreme Rails, so it works off perfectly.When setting this up, you want to be sure to put your spacer in first. It goes underneath one of our planks. You want to put this as close as to the outside as you can, so about in this area. And you may notice that this is actually not even with my crossbar. It doesn’t have to be. It can be offset a little bit to either side. This comes in handy when you may have a fixed roof rack system where you can’t adjust it to where it sits even with your planks, so it’s okay in this position.Then we’ll want to take the top portion of the clamp. It’s the one with the two squares in it. We’ll set it on top of that spacer. Then we’ll take the bottom portion of the clamp. We’re going to go underneath our roof rack system and back up. Start installing our knobs. Now, one thing you want to be sure of is to tighten these down evenly.Once it’s nice and secure, it actually comes with a cover. That way, we don’t have to worry about any of our gear getting snagged on the ends of the bolts here. It simply clips over the top portion of the clamp like so. Just make sure it’s nice and even, and you’re all set. Now our gear is just going to sit on top. It won’t cause any harm.Now, you’ll notice it does have that tubular design. This is what’s g
source